
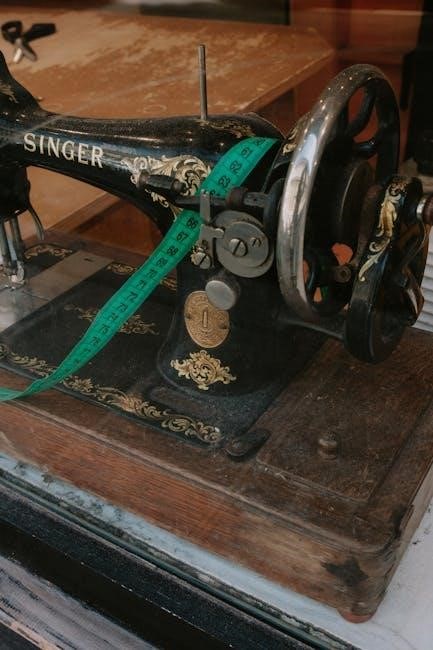
Welcome to the Singer Sewing Machine Operation Manual, your comprehensive guide to mastering your sewing machine. This manual provides essential insights for safe operation, setup, and troubleshooting, ensuring a seamless sewing experience. With detailed instructions and practical tips, it helps you unlock your machine’s full potential for creative projects.
Importance of Reading the Manual
Reading the Singer Sewing Machine Operation Manual is crucial for safe, efficient, and creative use of your machine. It provides essential information about proper setup, operation, and maintenance. The manual helps you understand safety guidelines, identify machine parts, and troubleshoot common issues. By following the instructions, you can avoid damaging the machine or injuring yourself. It also ensures you maximize the machine’s features and stitches for optimal sewing results. Whether you’re a beginner or experienced sewer, the manual serves as a valuable reference to enhance your sewing experience and keep your machine in top condition.
Basic Parts and Components of the Singer Sewing Machine
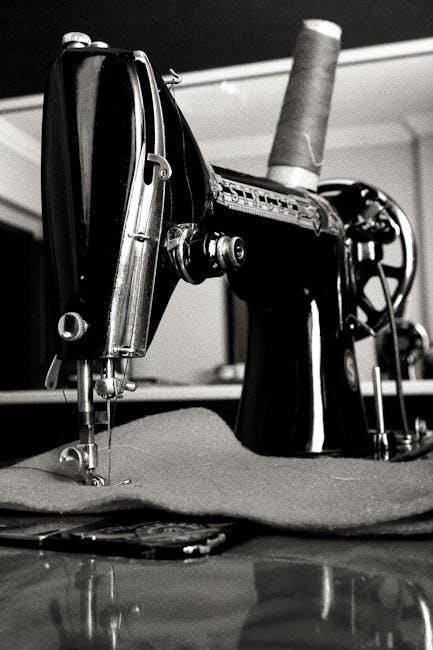
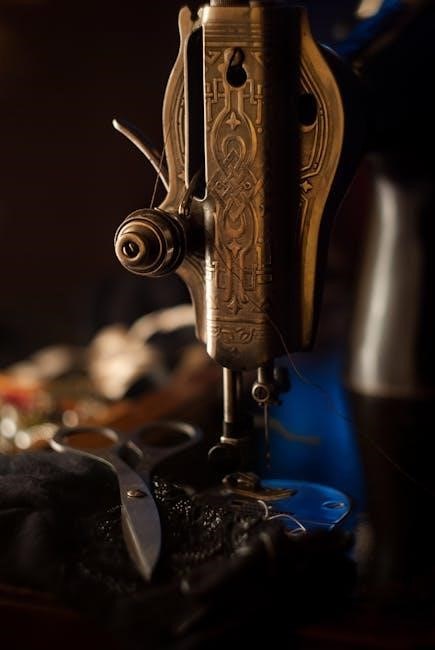
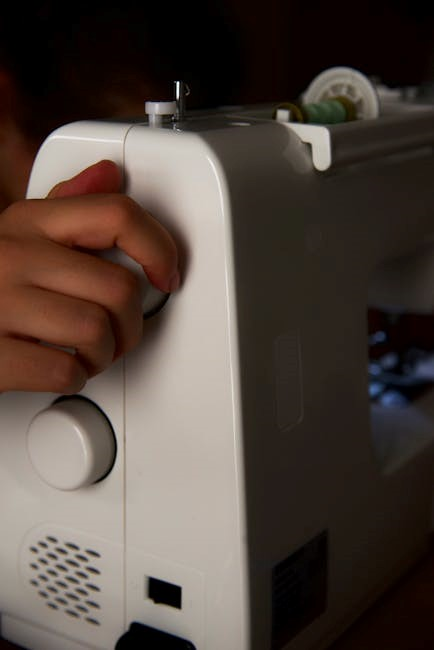
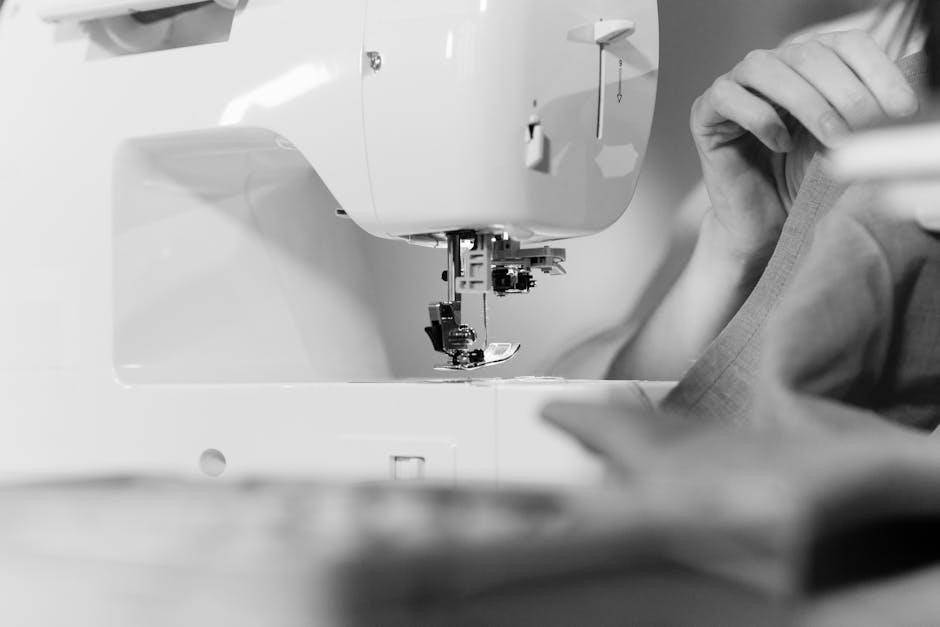
Familiarizing yourself with the basic parts of your Singer Sewing Machine is key to effective operation. The machine features a needle, presser foot, bobbin, and spool pins for thread management. The handwheel controls needle movement, while the stitch selector allows you to choose stitch types. The tension dials adjust thread tightness, and the reverse stitch lever ensures secure seams. Understanding these components helps you use the machine confidently and troubleshoot issues. Take time to explore each part and its function to maximize your sewing experience and maintain your machine properly.
Safety Precautions and Best Practices
Always use the proper needle plate and read all instructions before operating. Follow essential safety guidelines to avoid hazards and ensure smooth, incident-free sewing experiences.
Essential Safety Guidelines for Operating the Machine
To ensure safe and effective operation of your Singer sewing machine, follow these guidelines:
- Always read the manual thoroughly before use to understand machine-specific safety features.
- Keep children and pets away while operating the machine.
- Use the correct needle plate to prevent needle breakage and potential injury.
- Avoid sewing over fingers or loose clothing that could get caught.
- Unplug the machine when not in use or during maintenance.
- Regularly inspect and replace worn or damaged parts to maintain optimal performance.
- Use only Singer-recommended accessories to avoid compatibility issues.
By adhering to these guidelines, you can enjoy a safe and seamless sewing experience with your Singer machine.
Avoiding Common Hazards and Mishaps
To ensure a safe and trouble-free sewing experience, it’s crucial to avoid common hazards and mishaps. Always use the correct needle type and size for your fabric to prevent needle breakage, which can cause injury or damage. Keep loose clothing and long hair tied back to avoid entanglement with moving parts. Never sew over pins, as they can damage the needle or machine. Regularly clean lint and debris from the machine to prevent jams and maintain smooth operation. Avoid overloading the machine with thick fabrics or multiple layers, as this can lead to mechanical stress. If a thread tangles or jams, stop immediately and carefully remove the thread to prevent further issues. By being proactive and attentive, you can minimize risks and enjoy a seamless sewing experience with your Singer machine.

Setting Up Your Singer Sewing Machine
Setting up your Singer sewing machine is straightforward and essential for optimal performance. Follow step-by-step guides to unpack, assemble, and prepare your machine for creative projects.
Unpacking and Assembling the Machine
Unpacking and assembling your Singer sewing machine is a straightforward process that requires care and attention to detail. Start by carefully opening the box and verifying all components are included, such as the machine, power cord, needles, bobbins, and accessories. Inspect the machine for any damage or scratches. Follow the manual’s instructions for assembling any detachable parts, like the extension table or additional feet. Ensure all accessories are organized and within reach. For older models, you may need to research specific assembly instructions, as some parts may vary. Always handle the machine gently to avoid damage. Once unpacked and assembled, refer to the next section for threading and bobbin setup.
Threading the Machine: Step-by-Step Guide
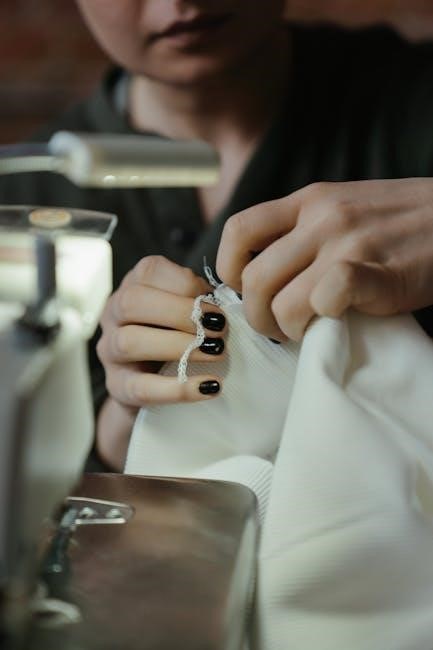
Properly threading your Singer sewing machine is essential for smooth operation and consistent stitch quality. Begin by turning off the machine and locating the spool pin. Gently pull the thread from the spool and guide it through the machine’s tension discs, ensuring it clicks into place. Next, pass the thread through the take-up lever and then down to the needle. Leave a small loop near the needle and pull the thread gently to remove any slack. Finally, insert the thread through the needle’s eye from front to back. always refer to your specific model’s manual for any unique threading requirements. Proper threading ensures even tension and prevents tangles or uneven stitching. Keep the machine turned off during this process to avoid accidents.
Bobbin Setup and Installation
Correctly setting up and installing the bobbin is crucial for proper stitch formation and smooth sewing. Start by removing the bobbin case from the machine and placing the bobbin inside. Ensure the thread is wound evenly around the bobbin, leaving a small tail. Secure the bobbin in the case, making sure it aligns with the machine’s mechanism. Gently pull the thread to ensure it flows freely without twisting. Insert the bobbin case back into the machine, following the manufacturer’s guidelines for alignment. Finally, pull the thread gently to ensure it is properly seated. Proper bobbin installation prevents issues like uneven stitching or thread breakage. Always refer to your Singer sewing machine manual for model-specific instructions.
Adjusting the Needle and Presser Foot
Proper adjustment of the needle and presser foot is essential for achieving precise stitching and smooth fabric handling. Start by selecting the appropriate needle type for your project, such as sharp, universal, or zigzag needles, depending on the fabric and stitch type. To change the needle, locate the needle clamp screw, loosen it, and carefully remove the old needle. Insert the new needle, ensuring it aligns with the machine’s needle bar, and tighten the screw securely. For the presser foot, choose the correct type for your task, such as the all-purpose foot or a specialized foot for zippers or buttons. Lower the presser foot using the lever or button, ensuring it rests evenly on the fabric. Adjust the presser foot pressure if needed to accommodate different fabric thicknesses, preventing bunching or dragging. Always ensure the needle and presser foot are properly aligned for even stitching and optimal performance.

Basic Sewing Operations
Master the fundamentals of sewing with your Singer machine, including straight-line stitching, backstitching, and fabric handling. These essential techniques form the foundation for all sewing projects.
Sewing a Straight Line: Tips and Tricks
Sewing a straight line is a foundational skill for any sewing project. Start by ensuring your fabric is properly aligned and smoothed out. Use the edge of the presser foot as a guide to maintain a consistent seam. Keep the fabric moving at a steady pace, avoiding jerky movements. For straight stitching, engage the “straight stitch” mode on your Singer machine. To enhance accuracy, consider using a walking foot or even feed foot attachment. Always keep the thread tension balanced to prevent fabric pulling or bunching. Practice on scrap fabric to refine your technique. By mastering the straight line, you’ll build confidence for more complex stitches and patterns.
Backstitching and Securing Stitches
Backstitching is essential for securing the beginning and end of your stitches, ensuring durability and preventing unraveling. To backstitch, start sewing forward, then press the Reverse Stitch button to sew a few stitches backward. This reinforces the seam. For manual backstitching, turn the handwheel to sew 2-3 reverse stitches. Always keep the fabric steady and aligned during this process. Proper thread tension is crucial to avoid loose or puckered stitches. After backstitching, trim excess thread close to the fabric to maintain a clean finish. For added security, you can tie off the thread ends with a small knot. Backstitching is particularly important for areas subject to stress, such as garment seams or bag handles. Practice this technique to ensure professional-looking results in your sewing projects.
Selecting the Right Stitch for Your Project
Choosing the right stitch is crucial for achieving professional results. Different stitches suit various fabrics and projects, ensuring durability and aesthetic appeal. Select wisely for optimal outcomes.
Understanding Stitch Types and Their Uses
Understanding stitch types is essential for any sewing project. The Singer sewing machine offers various stitches, each designed for specific tasks. The straight stitch is ideal for general sewing, while the zigzag stitch is perfect for preventing fraying on raw edges. The blind hem stitch is great for invisible hems, and the stretch stitch is suitable for elastic fabrics. Decorative stitches add a creative touch, and the backstitch ensures secure seams. Familiarizing yourself with these stitches allows you to choose the right one for your fabric and project needs, ensuring professional-looking results every time. This knowledge enhances your sewing skills and expands your creative possibilities.
Troubleshooting Common Issues
Identify and resolve common issues like thread tension problems, jammed threads, or mechanical malfunctions. Consult the manual or online resources for step-by-step solutions to ensure smooth operation.
Resolving Thread Tension Problems
Thread tension issues are common but can be easily resolved with the right approach. Start by checking the tension dials on your Singer sewing machine, ensuring they are set appropriately for the fabric type. If the stitches are too loose or tight, adjust the upper or bobbin tension accordingly. Re-threading the machine with the presser foot up can also help reset the tension. Use high-quality thread and ensure the needle is compatible with the fabric. If problems persist, clean the machine to remove lint or debris that may affect tension. Refer to the manual for specific guidance, as different models may have unique tension adjustment methods. Proper thread tension ensures even stitches and prevents fabric damage. Regular maintenance and adjustments will keep your machine performing optimally.
Fixing Jammed Threads and Other Mechanical Issues

If your Singer sewing machine experiences jammed threads, turn it off and carefully remove the fabric. Gently cut the tangled thread near the machine and rethread it. Check for lint or debris inside the bobbin area, as buildup can cause jams. Use a soft brush or compressed air to clean the machine. Ensure the needle is correctly installed and not bent, as this can lead to thread breakage. If the issue persists, consult the manual for specific troubleshooting steps for your model. Regular maintenance, such as oiling (if required) and updating machine firmware, can prevent mechanical issues. Always use compatible needles and accessories to avoid damage. Addressing jams promptly ensures smooth operation and extends your machine’s lifespan.